
The Second Chance Chair
- Traci | The Slipcover Atelier
- Jun 30, 2020
- 3 min read

On the homefront at Hembree House, I've been in quiet mode in the blogging world. Very often I feel the need to unplug socially and not share absolutely everything that I'm doing. I know you know when that time is right for you, too. On my Instagram stories, I've shared my emerging peonies, a quick getaway to Savannah, slipcovering furniture, and the process of learning how to reupholster an old French Bergere a client had bought for $25.
I kept referring to this project as a "Labor of Love", because I thought the chair looked like it needed to be loved again. I actually felt sorry for it! And it sagged. Boy, did it sag. So I decided I "knew what I was doing" and set about reupholstering it.
Below is the chair in its original fabric

While this is not a tutorial, I did take photos along the way to document my learning progress. I watched several online tutorials about reupholstering chairs. A few favorites are Sailrite "How to Reupholster an Arm Chair" , Kim's Upholstery "How to Reupholster a Wooden Armchair" and (as an alumni of Miss Mustard Seed Mentoring) my favorite by Marian Parsons "Reupholstering a French Chair .
Taking the old fabric off is quite enjoyable. It's like pulling off a bandage or peeling sunburned skin. Getting to the bones of the chair helped me see how to recover it.

I've been sewing since I was 9 or 10 years old. In my teen years and early 20s I enjoyed sewing my own clothes. It was so inexpensive and I challenged myself as often as possible. I taught myself how to sew zippers in skirts and jackets, how to make collared and buttoned shirts and lining the inside of garments. I embroidered and quilted in the 80's during the original Country Living craze, and finally began sewing home decor when I married and became a homeowner. Those early sewing skills were useful to have but honestly, if you can sew a straight line, you can reupholster and slipcover furniture.
Here I've repainted the frame using White Dove ADVANCE Interior Paint by Benjamin Moore, then I applied a wax using Miss Mustards Seed's Antiquing Wax. The color came out a beautiful bone white with a lustrous finish.

Prior to the wax finish applied, here the chair is stripped of the old upholstery with one coat of paint applied. I usually do my work in the screened-in porch because of the natural light available.

This charming blue and white buffalo check is just perfect to give the chair a
fresh face. I'm lining up the pattern to see where the check should be; blue centered or white centered. The client preferred blue centered.

The three basic elements to reupholstering are listed below:

Moving through the process, I am quite shocked that I managed to complete a 4-way pattern match: back, front, sides and seat cushion! It was exciting to see it come together. Studying those tutorials paid off. All that is left is the gimp trim and arms. You can see a piece of the old fabric on the lower right. I saved pieces and used them as patterns on the new fabric.

The skimpy arm cushions are getting a nice lift. I used 1" foam from Hobby Lobby, cut it with the previously removed fabric as a pattern, folded it down and use a pneumatic stapler to staple it
onto the frame.

This simple gimp trim looks great on a French chair. I've used it on several projects. I chose the lighter color on the right for this chair. Source is Hobby Lobby.

So perfect.
"Simplicity is the ultimate sophistication"
Clare Boothe Luce

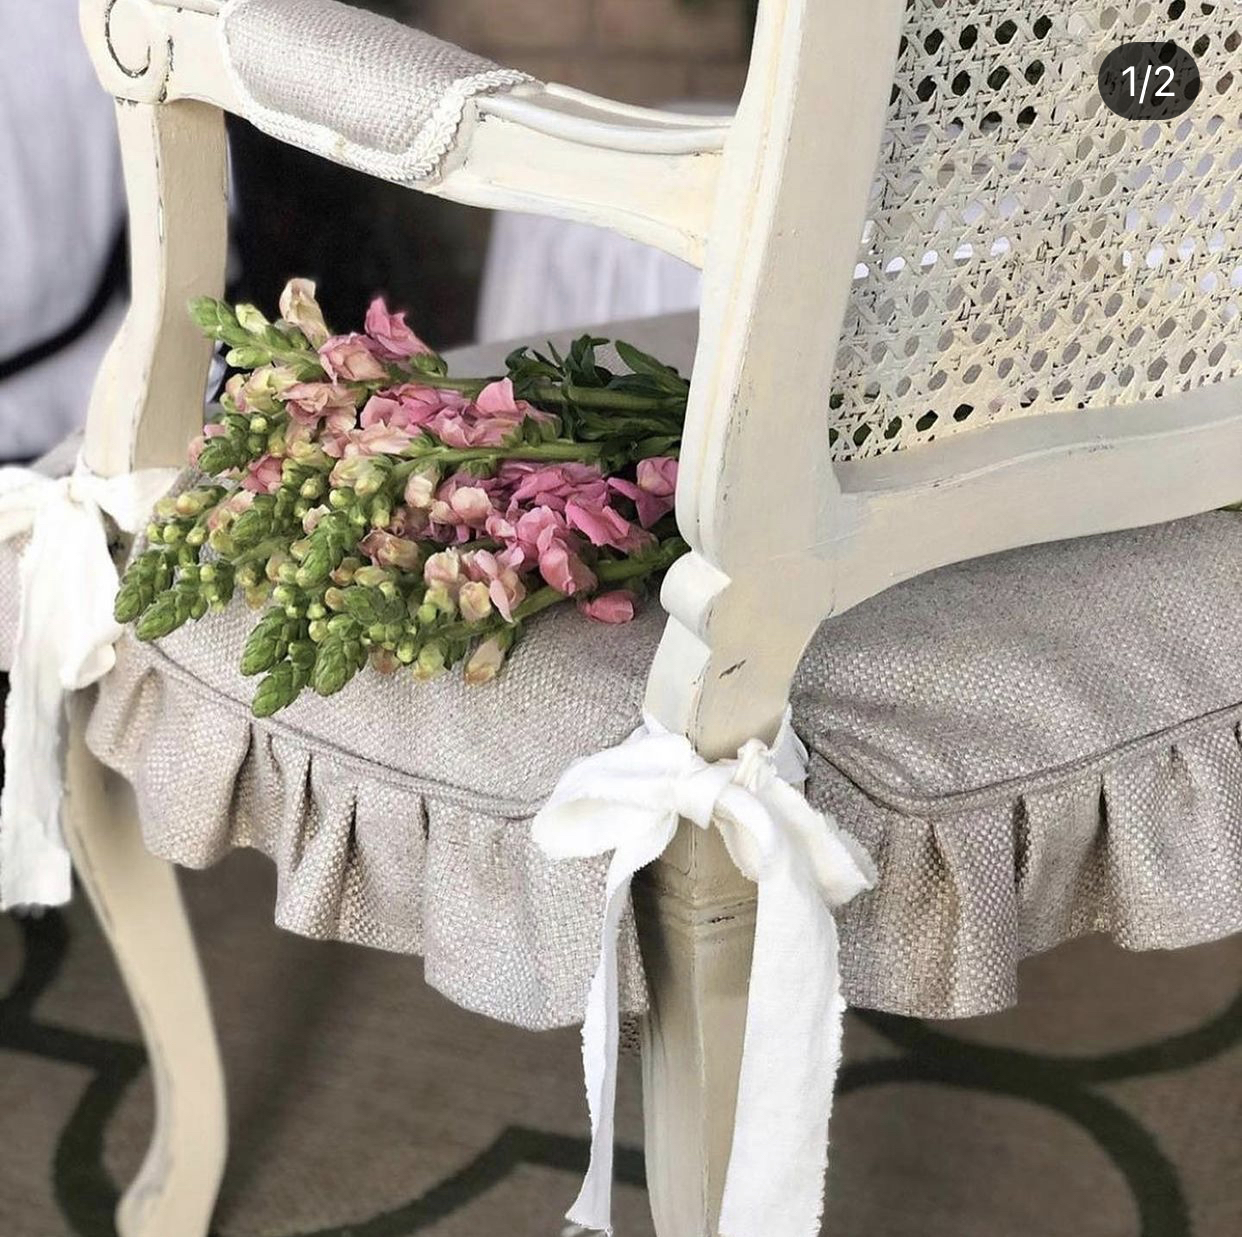
And here is the finished chair in my client's home, surrounded by blue and white Chinese patterned urns and dark, hardwood floors. I think this French chair earned its name on this post, Second Chance Chair! Don't you?

There are more projects on my to-do list: slipcovers, porch makeovers, de-cluttering of closets. All good Summer pastimes.
Thank you for joining in the journey!
Traci - Hembree House


kubet link mình vừa ghé thử cho biết vì thấy nhiều người nhắc. Vừa vào trang là thấy bố cục khá thoáng, chia mục theo từng phần riêng nên nhìn phát nắm được luôn, không bị rối hay chữ dày đặc. Mình chủ yếu đọc phần giới thiệu với mấy bài viết về nhà cái, thấy họ nói về kinh nghiệm hoạt động ở Việt Nam và cách làm việc khá bài bản, đọc cảm giác vừa phải chứ không phóng đại. Lướt trên điện thoại cũng ổn, tiêu đề rõ nên tìm thông tin nhanh. Tổng thể kiểu gọn gàng, dễ theo dõi.
A Rip Wheeler Costume is perfect for fans who want to embody this beloved character's tough but loyal spirit. The attention to detail in the pieces at Western Jacket ensures an authentic portrayal.
Elevate your interior with a chic wing chair furniture piece from here.